STEP BY STEP EASY HALLOWEEN MAKE UP TUTORIAL
Here is a scary halloween make up tutorial. This is a step by step easy halloween make up tutorial. This will only take you between 15-30 minutes it’s so easy to do and looks so realistic and gruesome! You can follow the steps below or feel free to watch the video linked at the end.
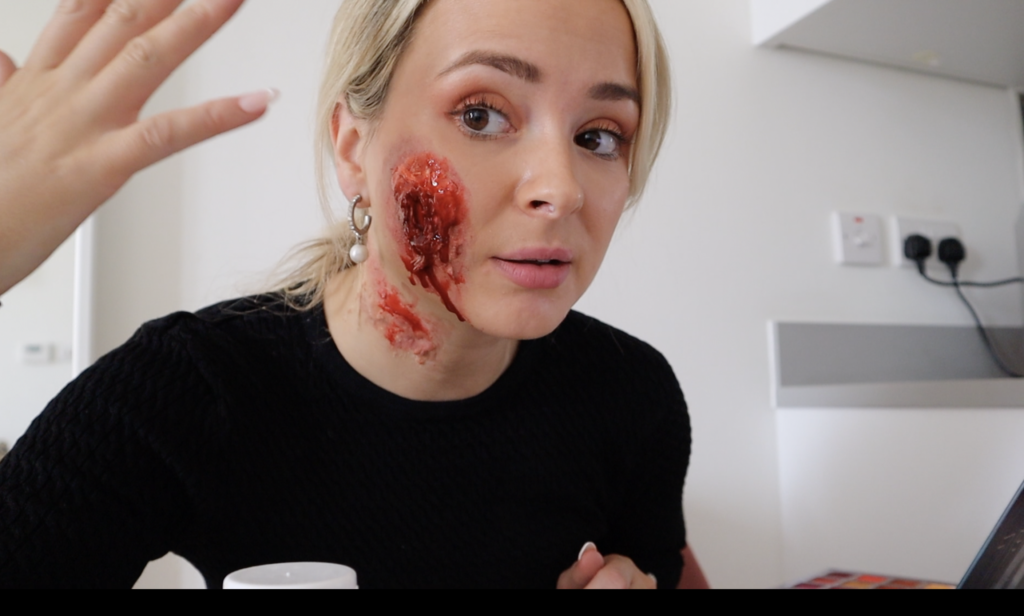
You can buy this halloween make up set for only £12.99 on Amazon here which I use in the tutorial below. Or you can improvise with some cheaper products I’ll mention below.
ALL ITEMS YOU WILL NEED:
1. Fake Blood 2. Liquid Latex 3. Wax/Toilet paper (included in set)
OTHER ITEMS:
4. Make up (bronzer, eyeshadows, foundation) 5. Sponge/item to apply make up/liquid latex 6. Tweezers- to cut marks
For a Scar/Trauma make up
Step 1:
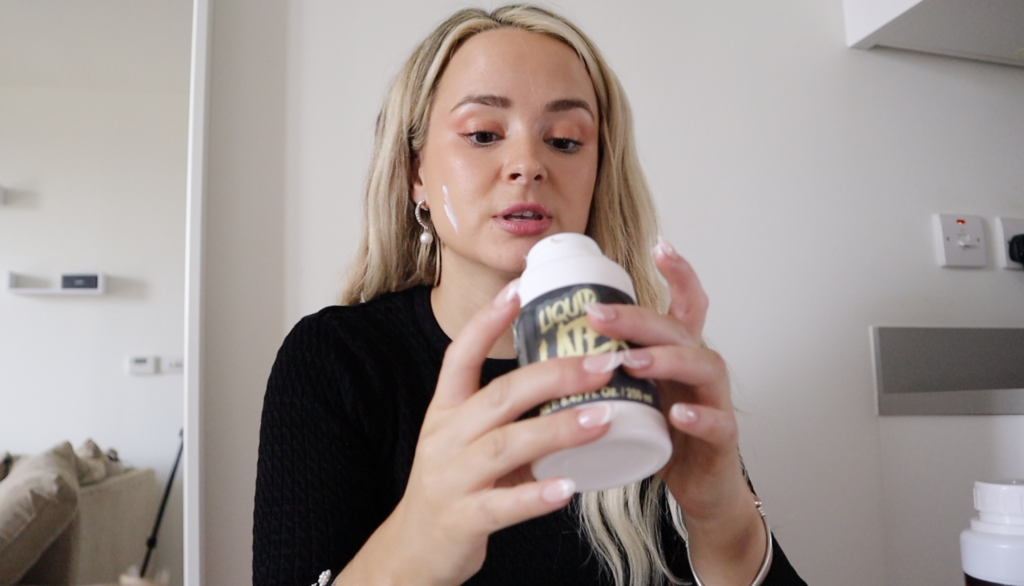
Ingredients you need for STEP ONE to STEP FIVE:
TISSUE, LIQUID LATEX, MAKE UP (FOUNDATION, BRONZER, EYESHADOWS), SPONGE (SOMETHING TO APPLY MAKE UP WITH), TWEEZERS (SOMETHING TO CUT THE SCAR).
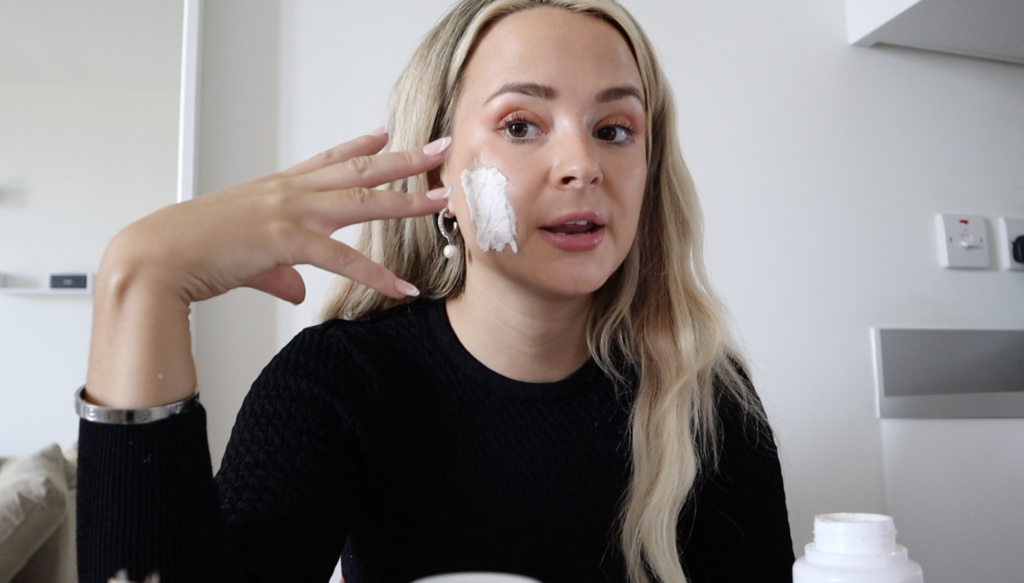
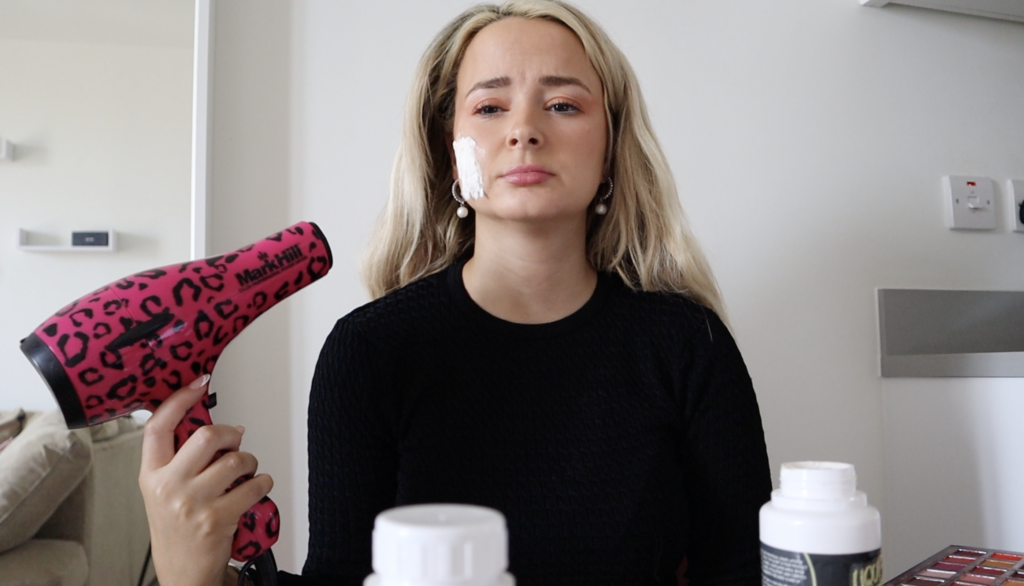
Apply liquid latex to your face and begin applying strands of tissue over the area you want the scar/burn. Wait for this to dry before applying another layer. I’d suggest using a hair dryer in between to speed up the process. I’d apply at least 5-6 layers and tear varying sizes (so it doesn’t look like toilet paper on your face!)
STEP TWO:
STEP THREE:
STEP FOUR:
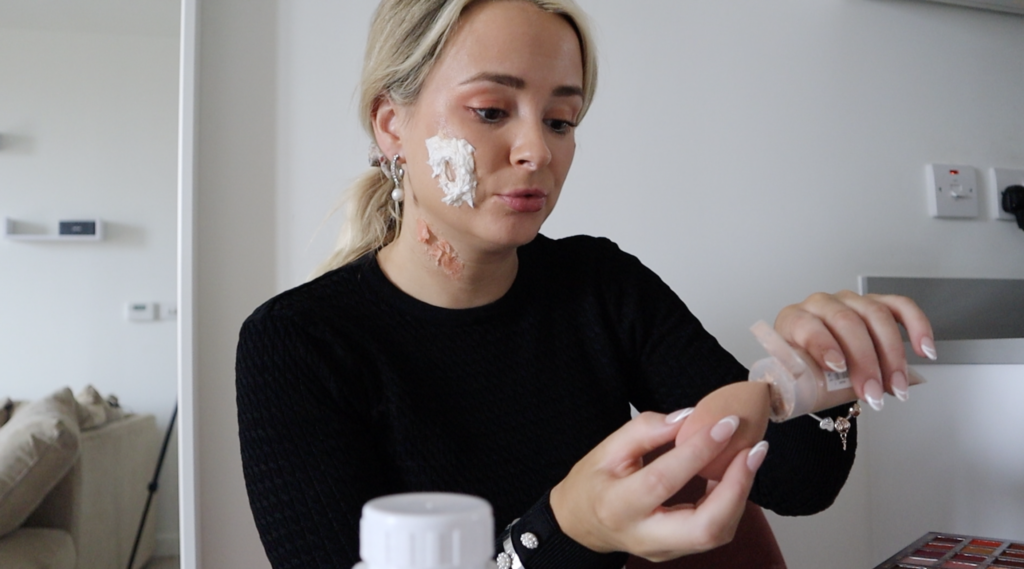
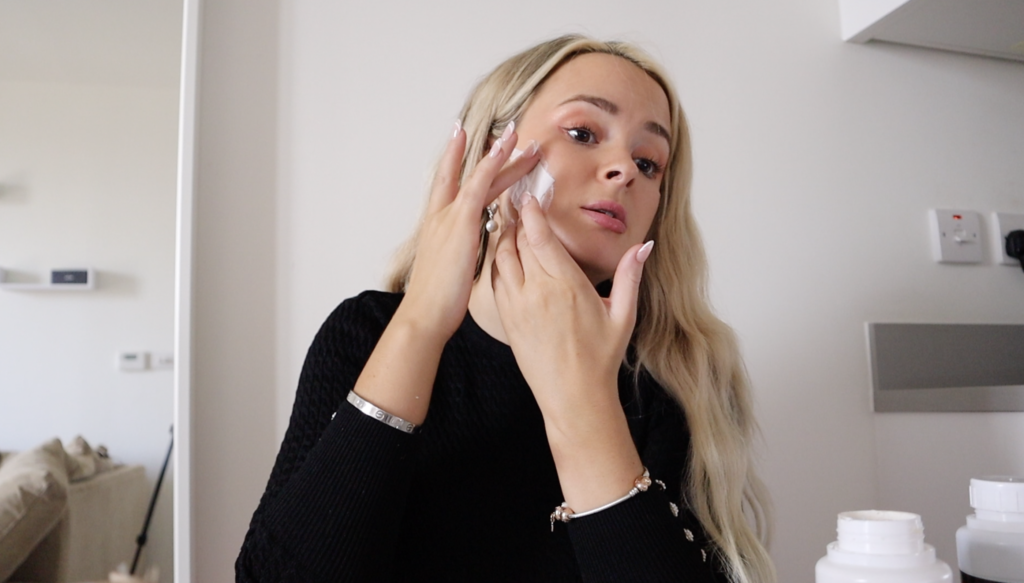
Now lets match it to your skin it’s time to go in and create that scar mark or begin making it look gruesome. Begin to apply foundation over the tissue paper so it starts to match your skin and isn’t all white. I’d suggest buying a cheaper foundation that matches your skin so you don’t run out of your favourite, everyday foundation!
STEP FIVE:
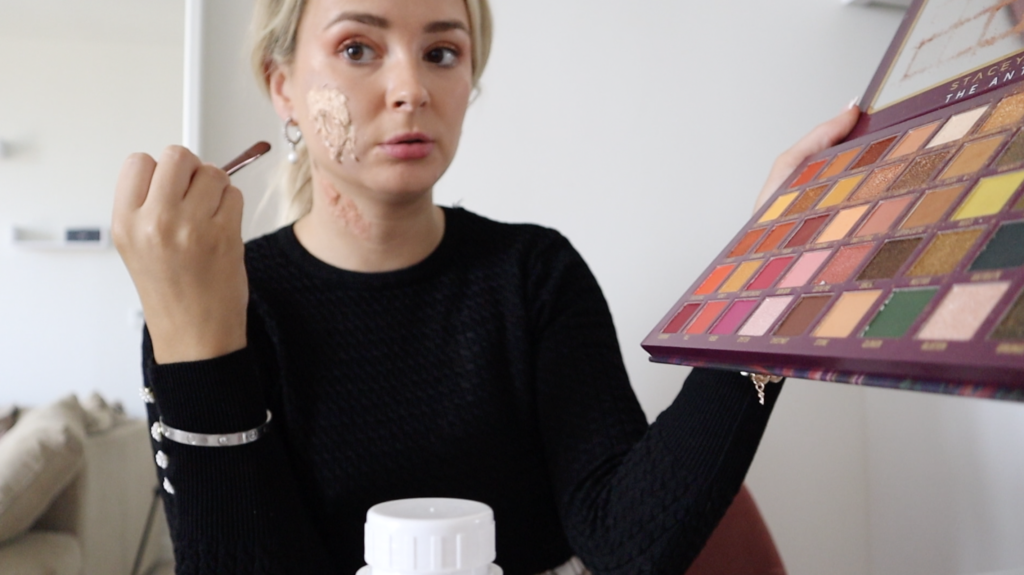
Once you are happy with the scar you have made. Well the tear you have created in the tissue paper! This step is the eyeshadow stage. I’d go in with light pinks/oranges closer to the skin to give that raw effect. Around the ages of the tissue and scar I’d use purples/green/greys/browns and blues to give the look of bruising. I’d also add black eyeshadow close to the areas which have been cut and the outside areas to make your burn/scar look more realistic and hide the tissue.
FOR BURNS MAKE UP
Ingredients you need for STEP ONE to STEP TEN:
WAX, LIQUID LATEX, SPIRIT GUM AND MAKE UP (BRONZER, EYESHADOW, FOUNDATION) AND SPONGE (SOMETHING TO APPLY MAKE UP WITH).
STEP SIX:
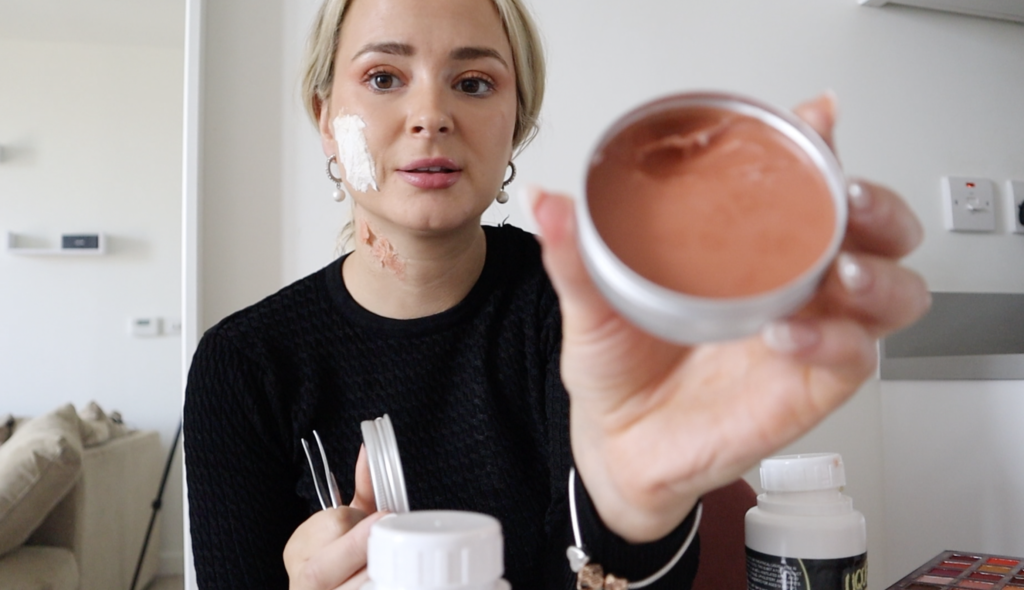
While tissue works well to look like burn marks, wax really is the best to create this effect. Begin by applying spirit gum.
STEP SEVEN:
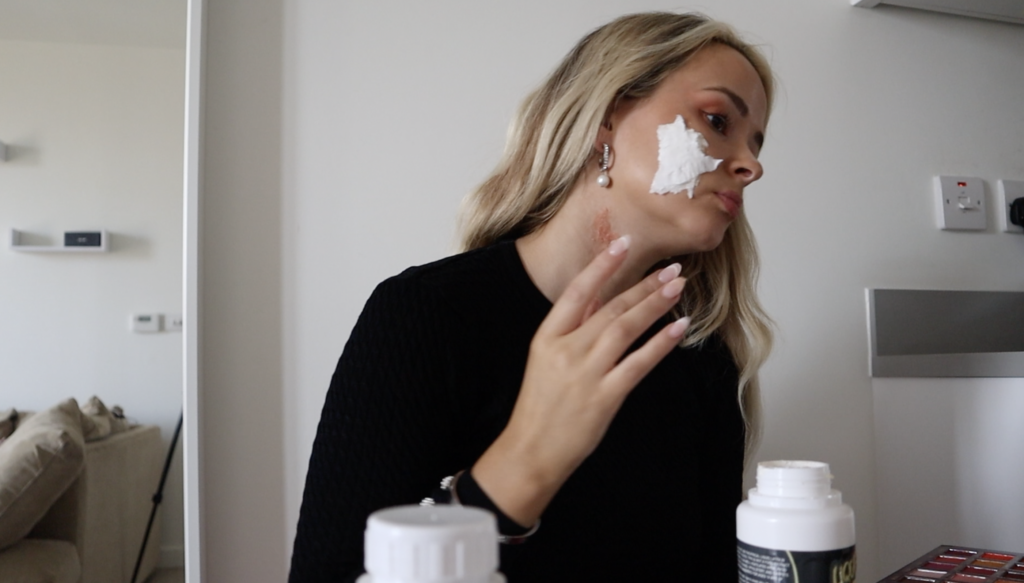
Start applying the wax to the area you would like the burn effect.
STEP EIGHT:
STEP NINE:
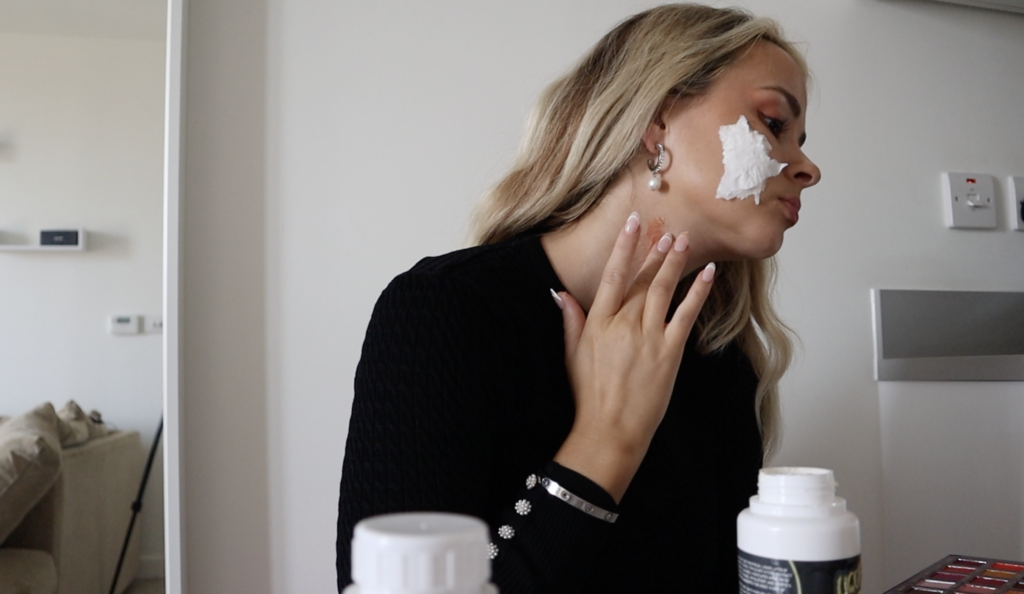
Apply your foundation over the wax to match your skin.
STEP TEN:
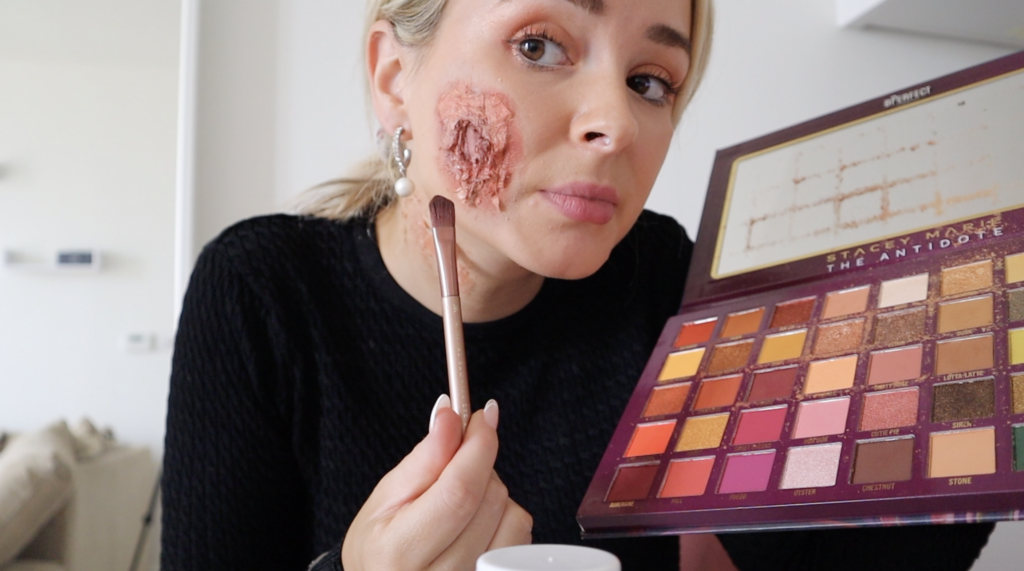
Apply light eyeshadows orange and pinks to create the burn colours.
FAKE BLOOD
Ingredients you need for STEP ELEVEN:
FAKE BLOOD (or Jelly and Red food colouring).
STEP ELEVEN: FAKE BLOOD
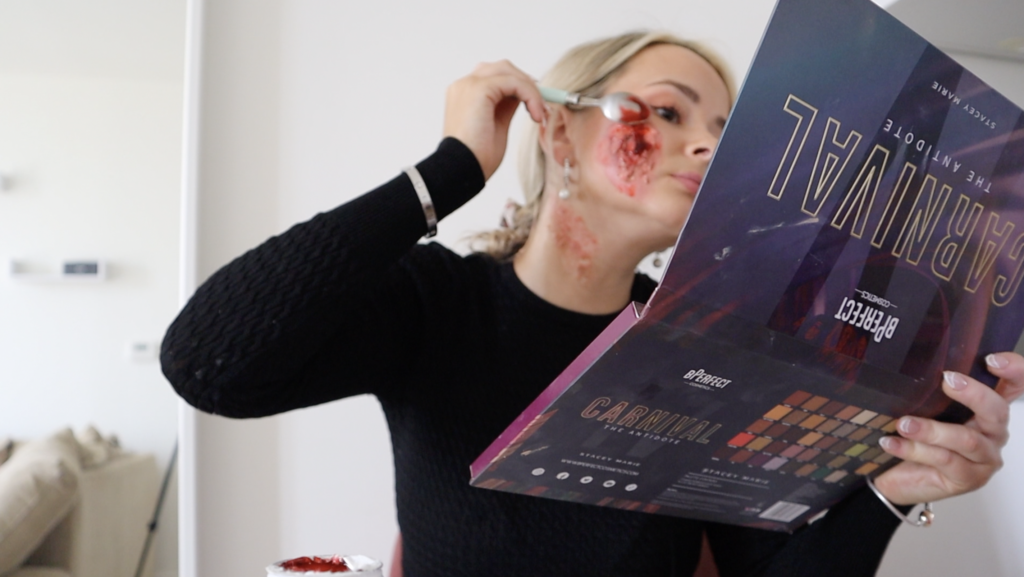
Here is my favourite step. Go in with the fake blood you have. I suggest with a scar to use most of the fake blood in the area of your scar. The thicker the consistency of the fake blood the more realisitic it looks. The halloween make up kit I got was really thick and I would recommend using (not sponsored!). Or as mentioned above you can make thivk blood purely with jelly and red food colouring! The cheap fake blood in convenient sotres I find too thin.
Hope this was useful. For more halloween posts like this scary easy halloween make up tutorial look here.

Leave a Reply