A Charlotte Tilbury Makeover - 16 Step by Step Tutorial
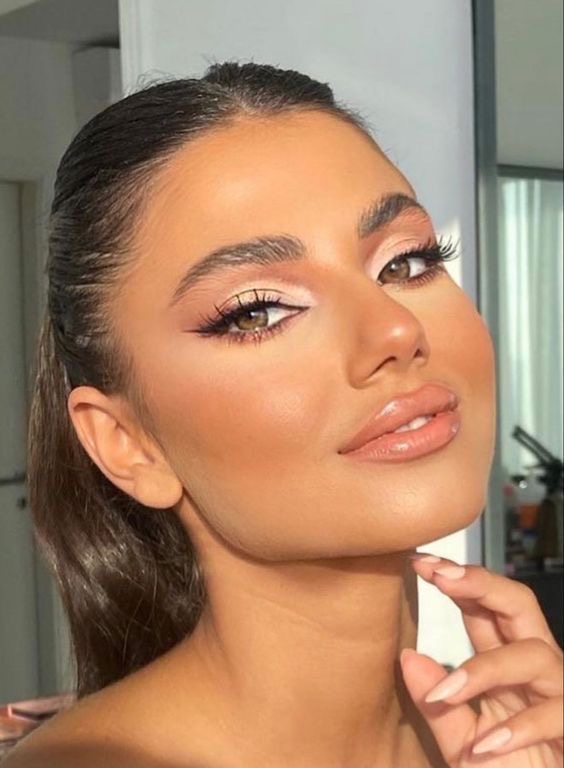
Read on for the Charlotte Tilbury Makeover – 16 Step by Step Tutorial. Ring Charlotte Tilbury to see if one near you will do a makeover which is free if you purchase products totalling £59. In Harvey Nichols this was £65 you can use towards products. So absolute bargain if there are products you know you need. A friend and I both booked in a makeover slot and it took around 2 hours. Below is the inspo picture and the step by step the approach the Charlotte Tilbury make up artist took.
Transform your look with our detailed Charlotte Tilbury makeover tutorial. Follow these 16 easy steps to achieve flawless, professional makeup. From foundation application to stunning eye makeup, our guide provides expert tips and beauty hacks. Perfect for makeup enthusiasts, our step-by-step tutorial includes high-quality visuals and uses the best Charlotte Tilbury products. Enhance your beauty routine and master new techniques with our comprehensive guide. Start your Charlotte Tilbury makeover today!
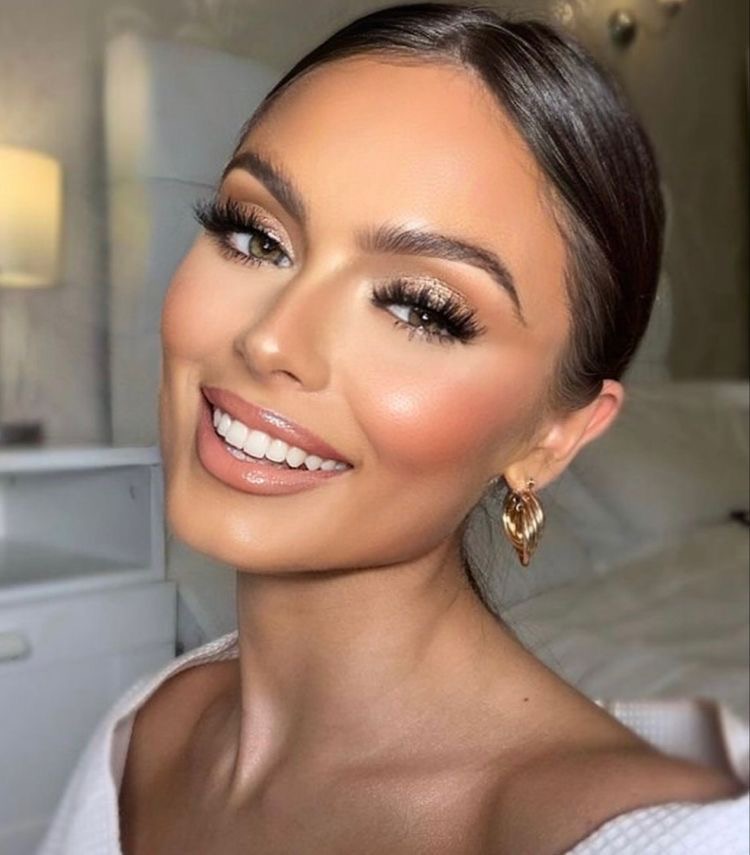
Inspiration
This was the inspiration above and below for the Charlotte Tilbury Makeover – 16 Step by Step Tutorial. A glam lifted look with Charlotte Tilbury makeup.
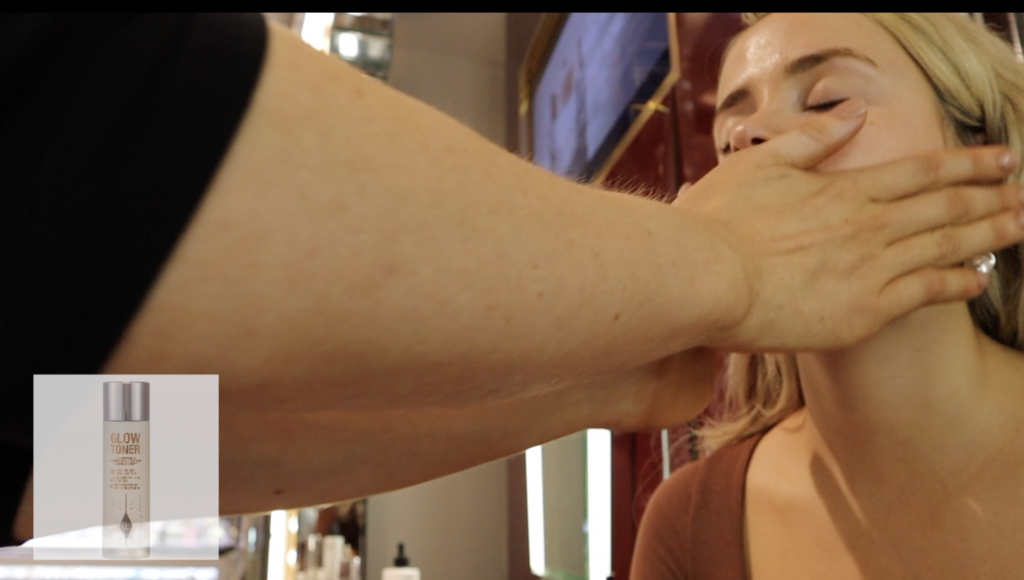
1. TONER
To start with he removed any excess make up and began using the Charlotte Tilbury Glow Toner. This you can use and apply morning and night, twice a day. For some beauty tips, it is good for removing make up and it’s main ingredient is niacinamide which is great for retaining moisture. He also mentioned it is a great exfoliative and good for dry skin and combination skin. It helps to resurface the skin and remove oils. Leaving skin smooth. Helping give that professional makeup look.
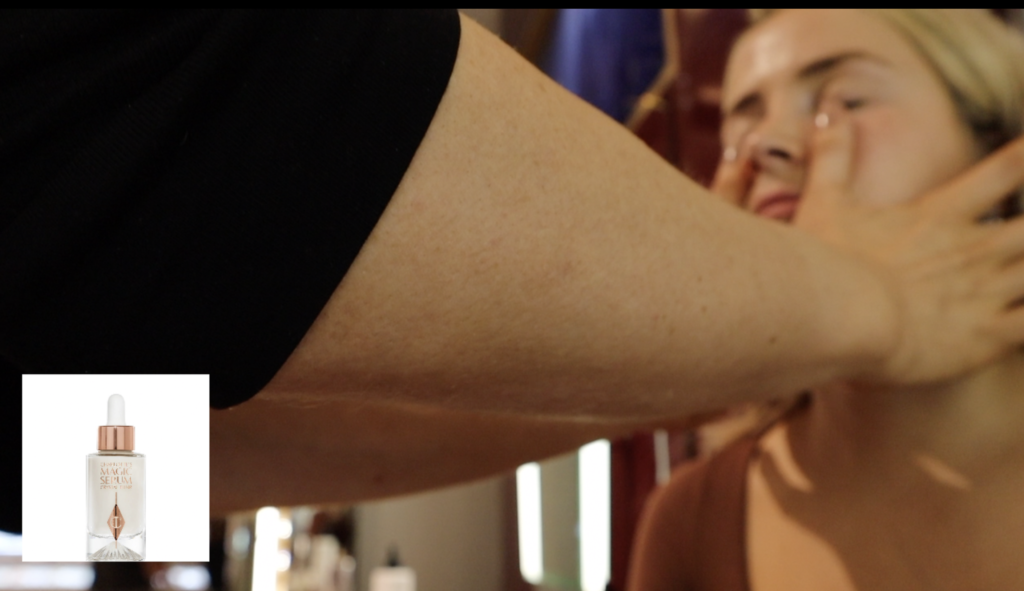
2. Serum
Next he applies serum, another beauty tip he gave is serum will lock in all the moisture. This one is the Charlotte Tilbury Magic Serum Crystal Elixir.
3. MOISTURISER
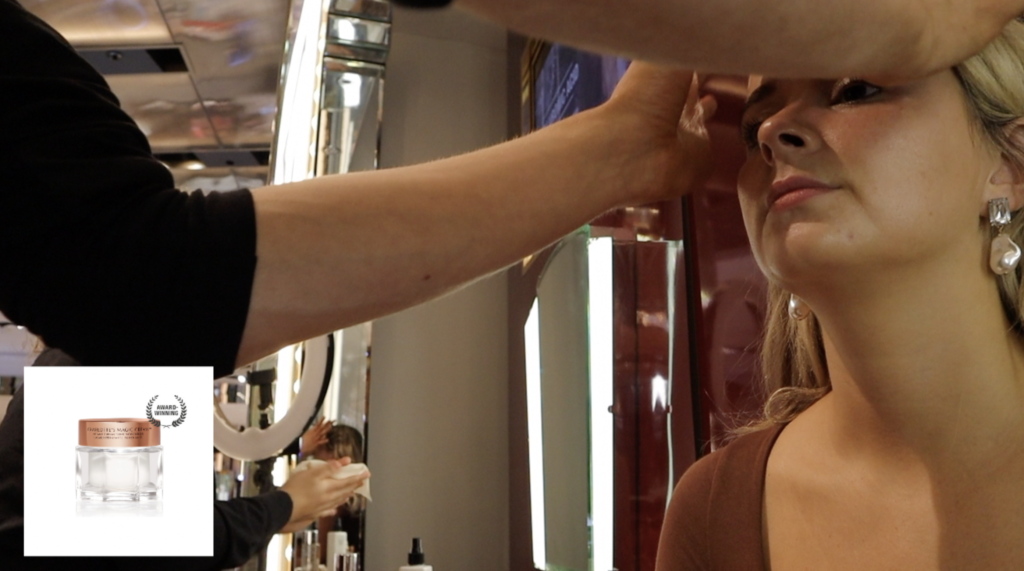
He used Charlotte Tilbury’s Magic Cream. Hyaluronic acid is supposed to be a key ingredient in the Magic Cream. It is super hydrating, which I can definitely vouch for. Having used this before, I do love it but it is expensive. Another key point he mentions with this cream is it plumps skin up, has shea butter and two types of oils. So it helps skin stretch and flex and reduces skin wrinkles and lines. Moisturisers also lock in serums. This magic cream has SPF 50 sun protection as well and aloe vera so good for soothing redness and blemishes. All these barriers of skin care are really important when applying make up as well. (It felt really great, smooth and glowing!).
4. Primer
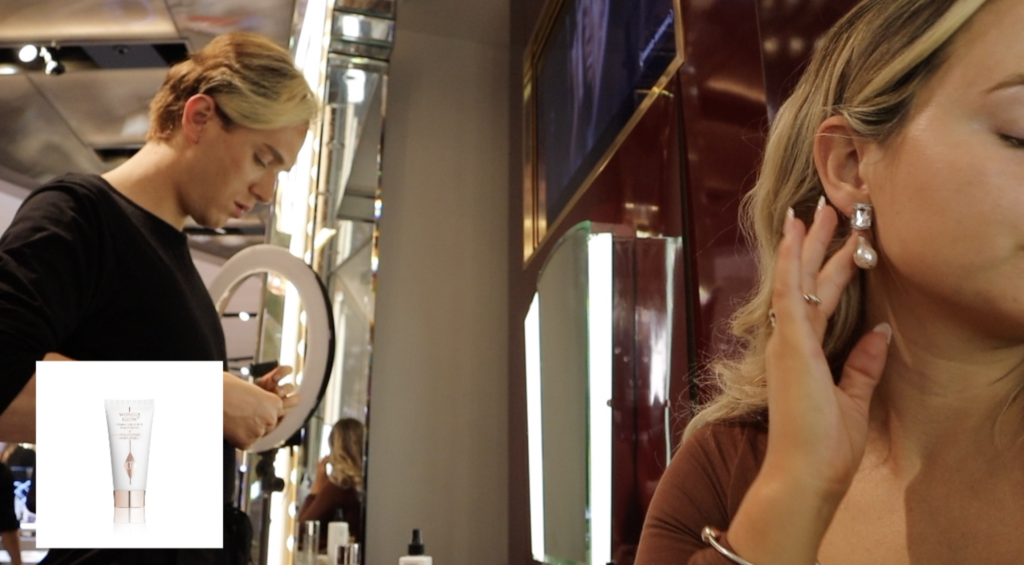
The primer used was the Charlotte Tilbury Wonderglow Primer, this has spf50- really good sun protection. He mentioned it has air brush polymers, so this smooths out texture of the skin, minimise appearance of pores, fine lines and any sort of texture on skin. It also has glycerin which is really great for longevity of make up.
5. EYESHADOW
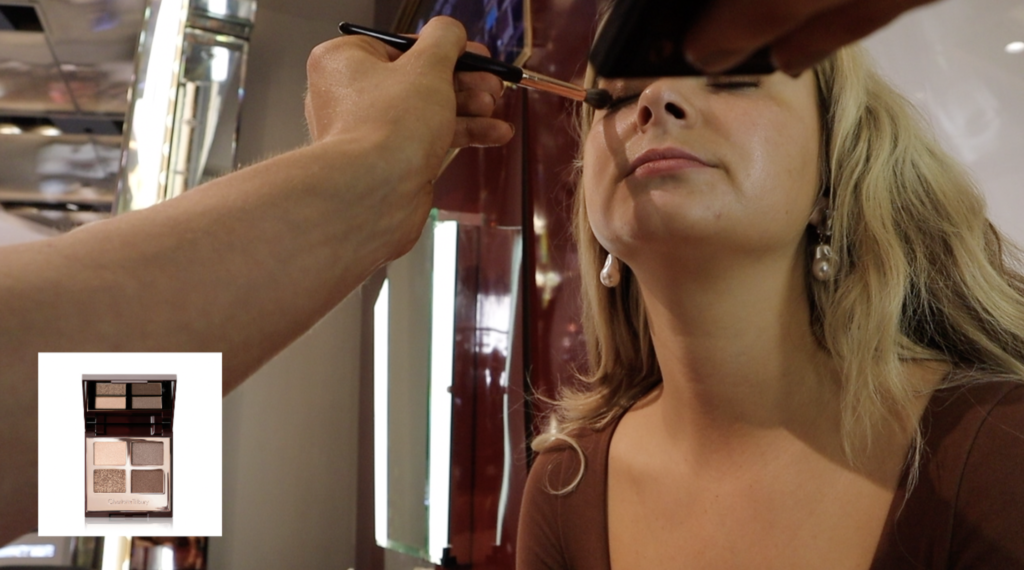
Next was the eyes, I’m, not sure if I am mad but I usually do my eyes last. I have now learnt to do this step first. It looked a bit frightening at first, like I had severely bruised eyes. But never fear it got sorted in the end. This way it appears easier to remove excess eye shadow that has transferred. Here we used the Charlotte Tilbury Luxury Palette – The Golden Goddess as I wanted a golden, glow look.
6. More Eyeshadow
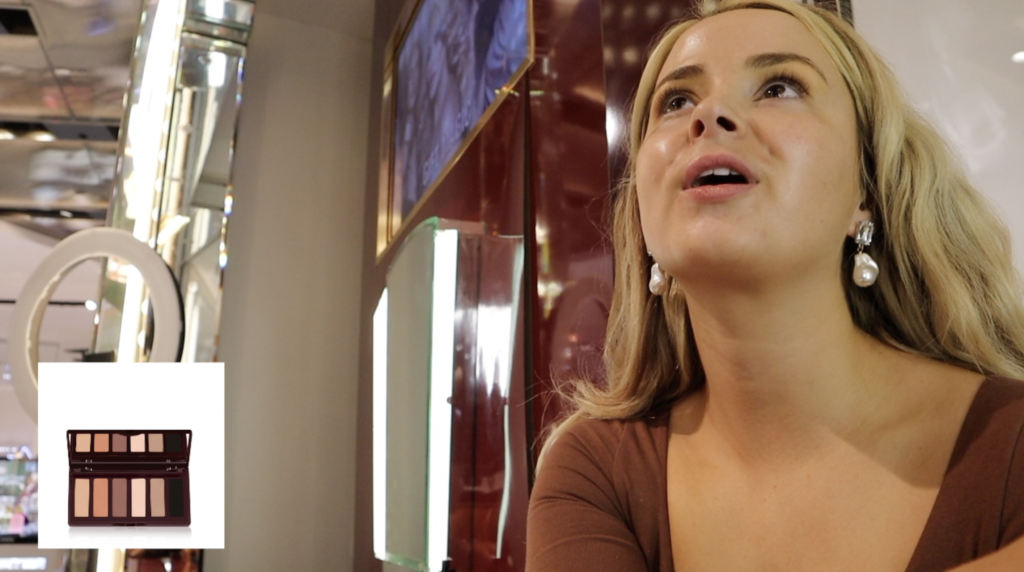
We also used the Super Nudes Easy Eye Palette– to add some darker shades. I loved this Charlotte Tilbury makeup palette.
7. Eyeliner
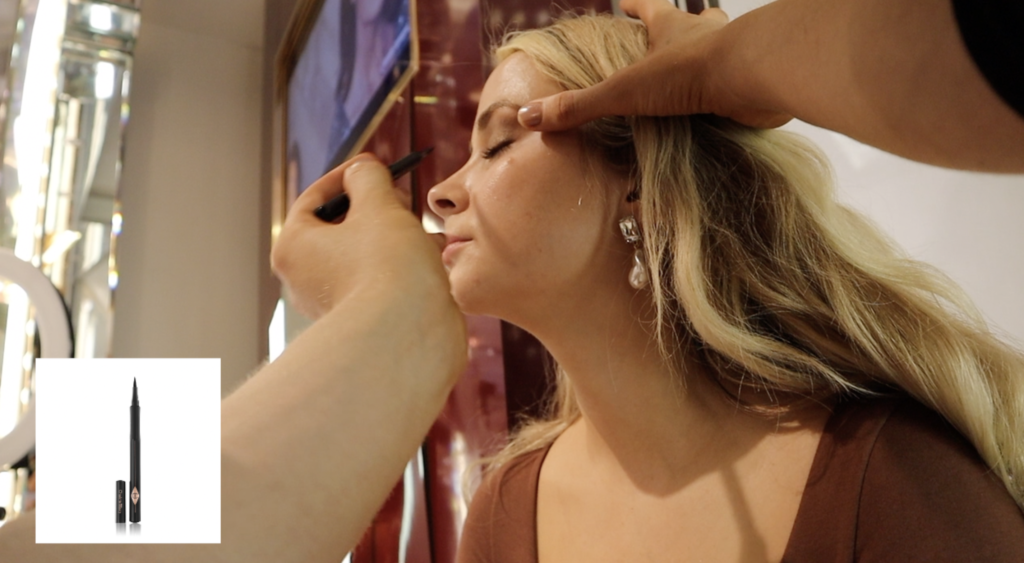
The Feline Flick Panther Eyeliner make up, he went in and used and I think he also used a pencil to add definition as he was more comfortable with a pencil.
8. Foundation
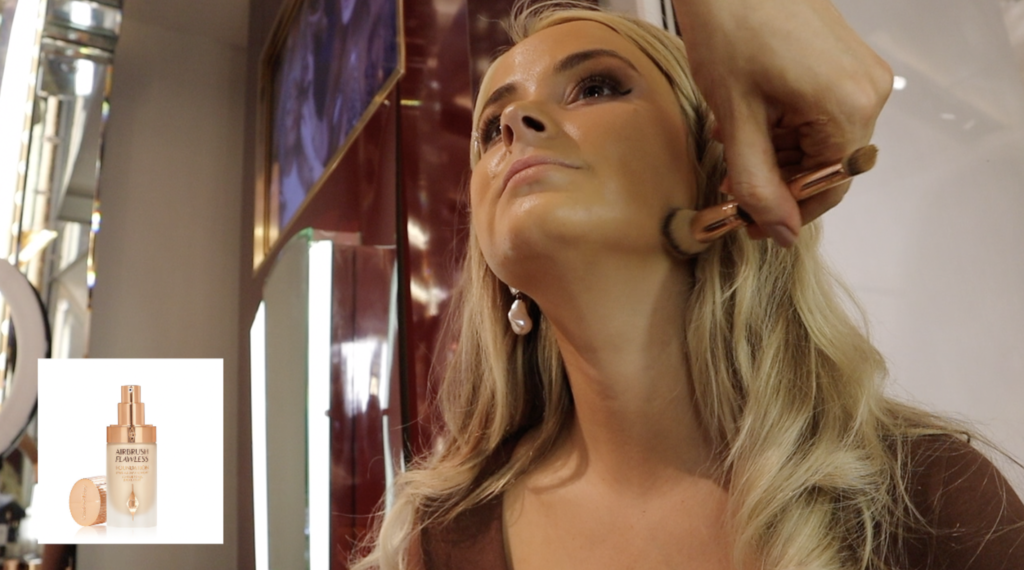
He applied the Airbrush Flawless Foundation in 3 Warm. I did ask for full coverage, this has a yellow-y undertone that I think is perhaps too yellow for me I should have gone for neutral shade. But I did ask to look darker than I am.
9. Sponge
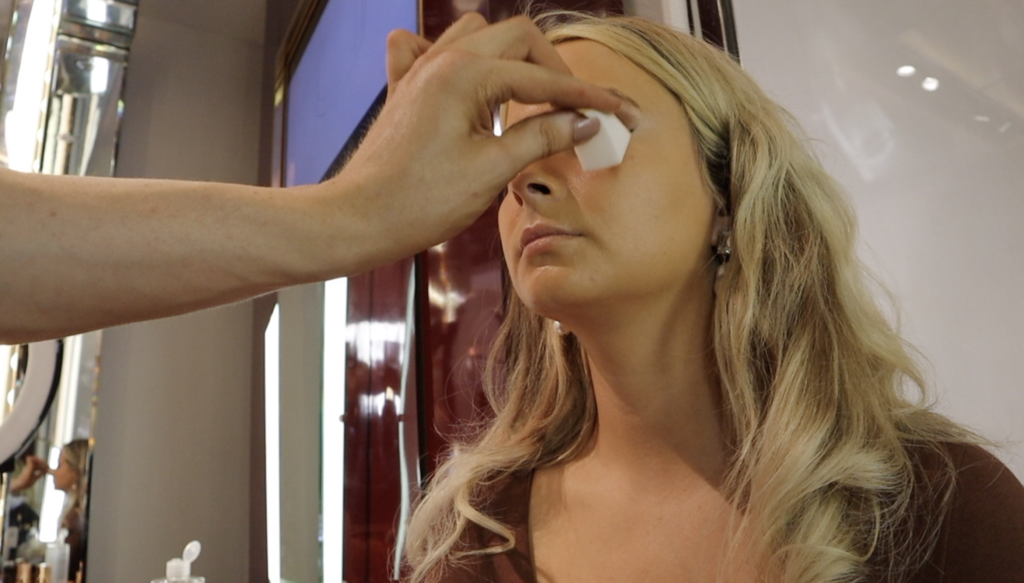
He uses a sponge here to smooth out the foundation as brushes can sometimes leave streaks. Another great make up tip.
10. Cream Bronze
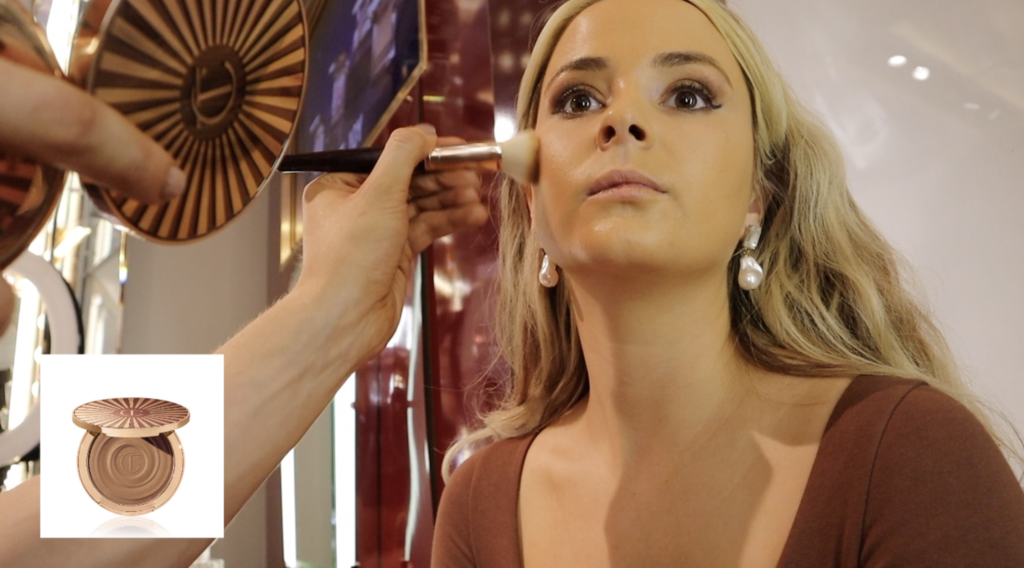
The cream bronzer used was the Bronzer Beautiful Sun Kissed Glow Bronzer. I made him get a darker shade- so we used 3 Tan, not sure who I think I am but I wanted to look bronzed. He applies across the forehead, cheeks and top of the nose. He builds as he says he prefers to subtly add to your make up so it’s easier to tell when you are over doing it. The cream bronzer has hyaluronic acid and sunshine provitamin D3 for a glow bronzed look.
11. Blush
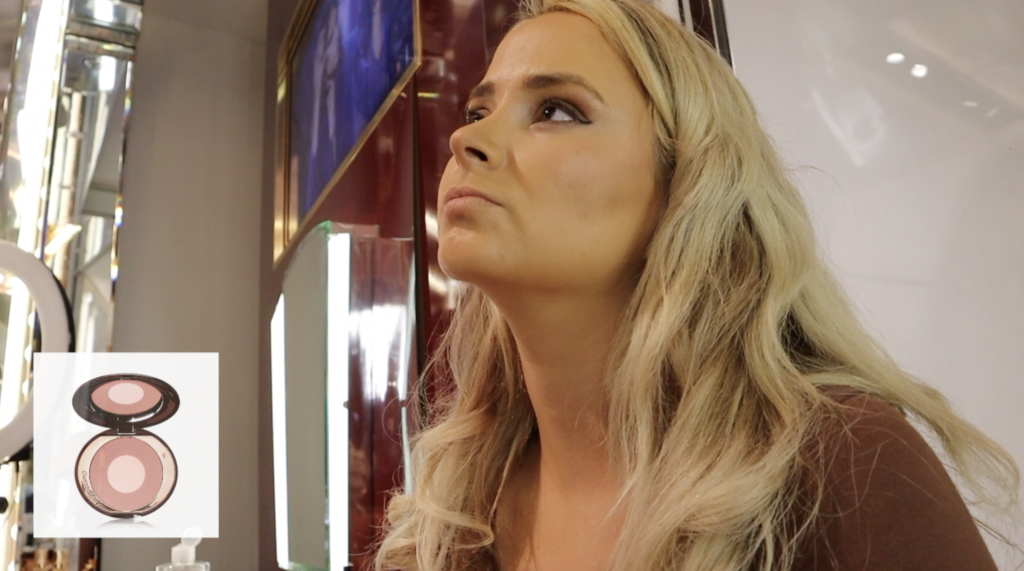
The blush used is the Cheek to Chic Pillow Talk Original Two-tone pink and champagne powder blush. This one is quite subtle at first but it really does really build.
12. Corner Eyes Glitter
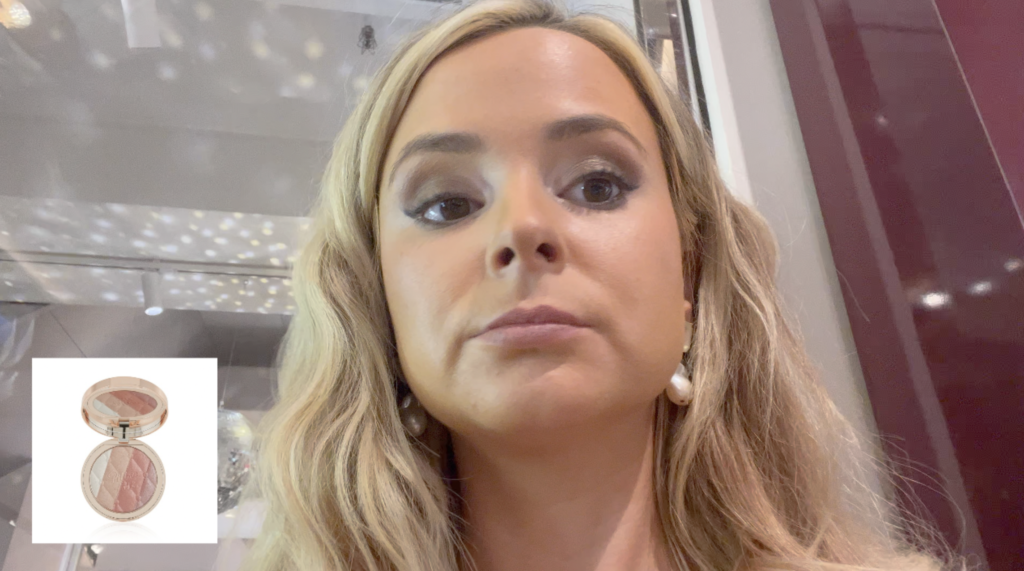
Next we used the Charlotte Tilbury Pillow Talk Multi-Glow – Romance Light in corner of eyes. As I wanted the corner of my eyes to look shiny, he used the whitest eyeshadow colour.
13. Lips
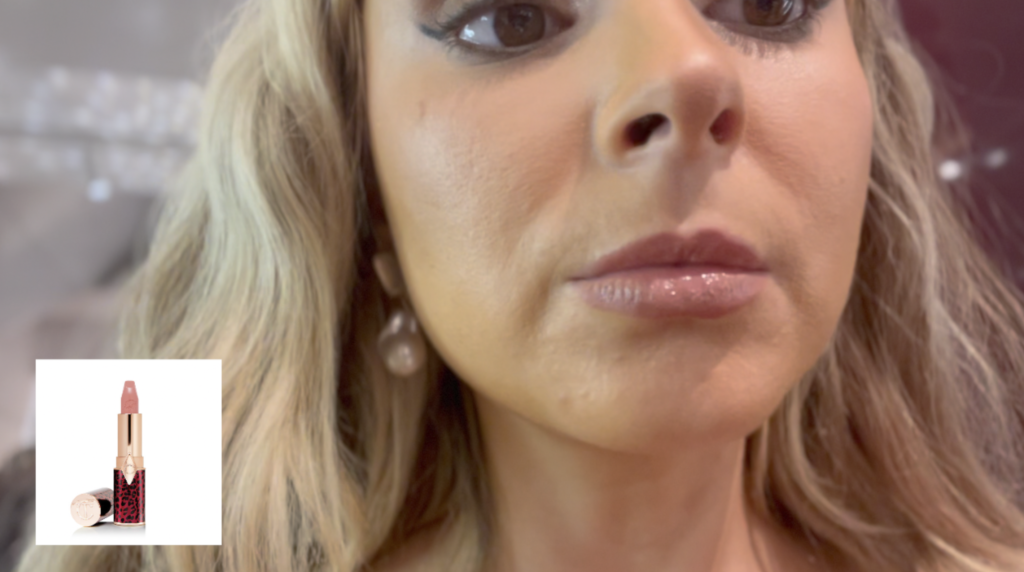
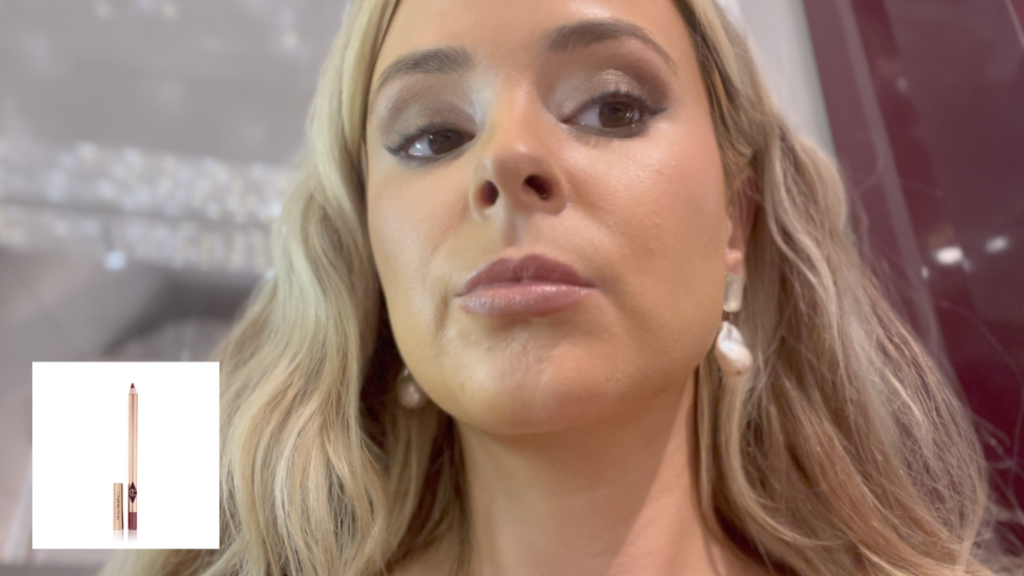
For the lip liner we used the Lip Cheat Love Trap peachy brown. I think thes was a little too dark. And we used the Hot Lips 2. So it is a peachy brown lip, I don’t think this really goes with my skin. My personal preference is usually light pinks.
14. Highlighter for lips
We used this liquid highlighter the Beauty Light Wand Spotlight to highlight the lips. I love these Charlotte Tilbury makeup products.
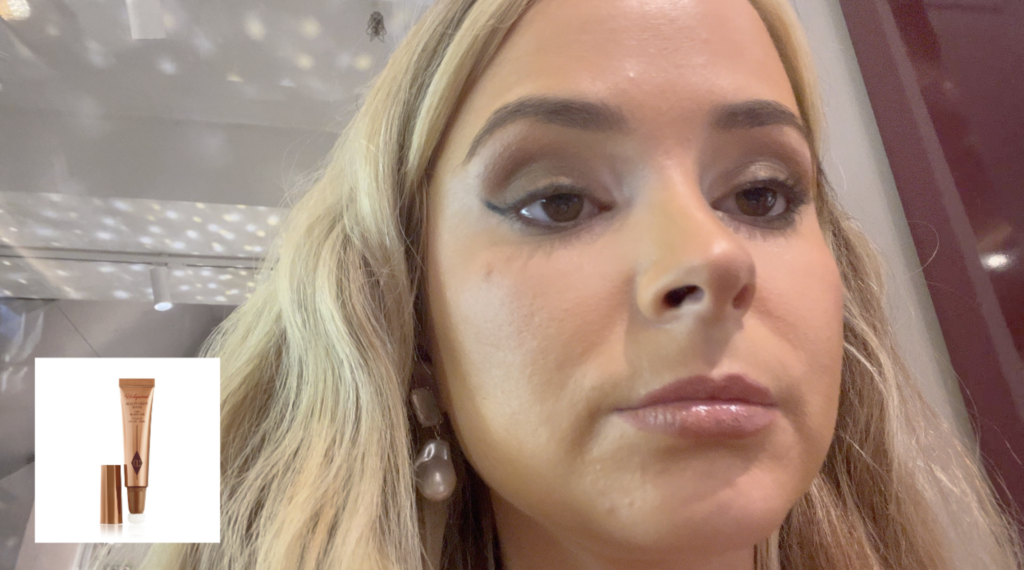
15. Eyebrows
The Legendary Brows Soft Brown gel was used for the brows. I did want a little more definition and a bushy look but I think a more natural eyebrow was a good idea considering the rest of my face was hardly natural looking.
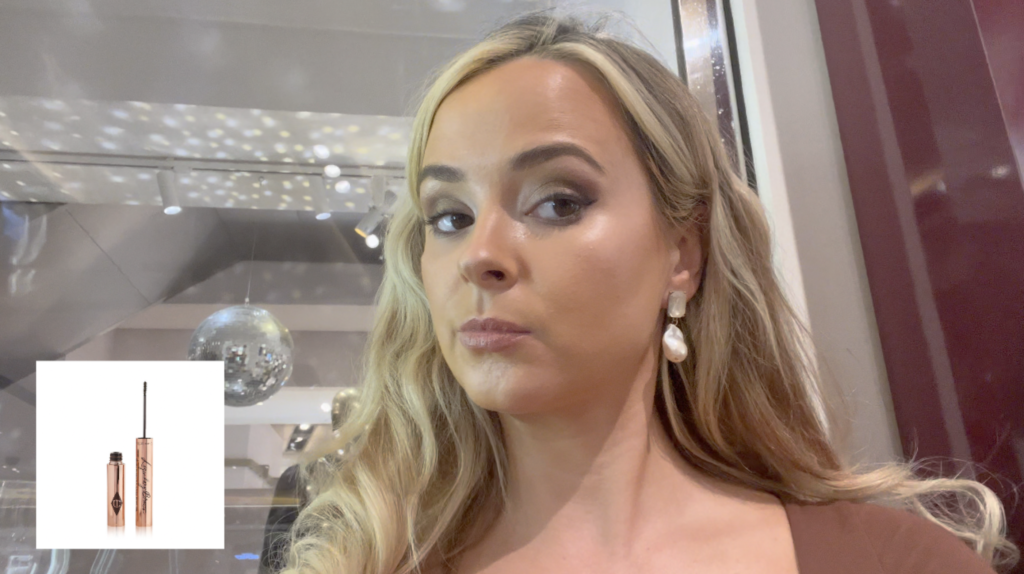
16. Mascara
Finally he forgot the eyes so added the Pillow Talk Push Up lashes! Mascara Super Black. He didn’t put much on I usually apply a lot of mascara and take a mascara brush that’s run out to go over and remove excess. But I love volume and the look of fake eyelashes. Giving a professional makeup look.

What was it like
This was a really fun experience and the make. up tips during the Charlotte Tilbury makeover that the makeup artists detailed were great through out the steps and why the products are good and offered suggestions based on the look you wanted. I’d definitely do it again with a different counter to try out new products. This did take over 2 hours however so make sure you have the time.
For more reviews like this Charlotte Tilbury Makeover – 16 Step by Step Tutorial here!

Leave a Reply